Accessing WiFi networks without entering a password can be incredibly convenient in various situations. Whether you’re in a public space, visiting a friend’s house, or setting up internet access for guests, there are multiple methods to connect without needing a password. This comprehensive guide explores how to connect to WiFi without a password, covering techniques such as WPS, DDP, QR codes, and guest networks. Additionally, we provide essential security tips to keep your network safe. For those seeking enhanced online security, consider using a VPN service like PureVPN.
Table of Contents
- Using WPS to Connect Without a Password
- Connecting via Device Provisioning Protocol (DDP)
- Using QR Codes for WiFi Access
- Setting Up a Guest Network
- Viewing and Sharing Your WiFi Password
- Security Tips for Your WiFi Network
Can You Really Join a WiFi Network Without a Password?
The simple answer is yes, but with caveats. WiFi networks are secured for a reason—to protect the privacy and data of their users. While there are methods to join certain networks without directly entering a password, they should be used responsibly. Let’s explore some legal and ethical ways to do this.
1. Wi-Fi Protected Setup (WPS)
What is WPS? Wi-Fi Protected Setup (WPS) is a secure method that allows users to connect to a WiFi network without needing to enter a password manually. It is typically found in most routers and can be enabled via the router’s settings.
How to Connect Using WPS:
- Ensure that WPS is enabled on the router.
- Press the WPS button on your router.
- On your device (smartphone, laptop, etc.), go to the WiFi settings and select the network.
- Your device will connect to the network without needing a password.
Pros:
- Fast and simple connection process.
- No need to remember or input complex passwords.
Cons:
- The WPS method has been criticized for security vulnerabilities, making networks more susceptible to hacking attempts.
2. Sharing WiFi via QR Code (Android and iOS)
How it Works: Smartphones today have made it easier than ever to share WiFi credentials using QR codes. Instead of manually typing in a password, users can scan a QR code generated by someone who already has access to the network. Here’s how it works:
For Android:
- Open the WiFi settings on your Android device.
- Select the WiFi network you’re connected to.
- Tap on the “Share” option. A QR code will appear.
- The person you want to share the WiFi with can scan the QR code using their phone camera and will be instantly connected.
For iOS:
- On an iPhone, go to WiFi settings and select the network.
- Use a third-party app that allows you to create or scan QR codes for WiFi sharing (since this function isn’t built into iOS natively).
- Once scanned, the device will connect to the network.
Pros:
- Fast and easy sharing.
- Ideal for sharing with friends and family.
Cons:
- Requires someone to already have access to the network.
- Limited to proximity (must be near each other).
3. Using the Router’s Guest Mode
What is Guest Mode? Many modern routers have a feature called “Guest Mode,” which allows users to create a secondary network for visitors. This network often doesn’t require a password or uses a simpler method for joining.
How to Enable Guest Mode:
- Log in to your router’s admin page (usually by typing the router’s IP address into a web browser).
- Navigate to the Guest Network settings.
- Enable the Guest Network and customize the name and access permissions.
- Share the Guest Network name with others; in some cases, it won’t require a password.
Pros:
- Convenient for allowing temporary access without compromising your main network.
- Ideal for visitors and guests.
Cons:
- You need to be able to access the router’s admin settings to set this up.
4. Using Near Field Communication (NFC)
For devices that support NFC (Near Field Communication), such as some Android smartphones, it’s possible to program NFC tags to store WiFi network credentials. Once programmed, these tags can be tapped by a compatible device to automatically connect to the WiFi network.
How to Program an NFC Tag:
- Download an NFC programming app from your device’s app store.
- Open the app and select the option to write WiFi credentials to the tag.
- Place the NFC tag in a convenient location for others to tap and connect automatically.
Pros:
- Quick and seamless connection.
- No need for manual password entry.
Cons:
- Requires an NFC-compatible device and tag.
- Not all devices support NFC.
5. Hacking WiFi Networks (Not Recommended or Legal)
It’s important to address the temptation to use tools and apps that claim to “hack” WiFi passwords. While there are numerous tutorials and software available online, attempting to access a network without permission is illegal and unethical. Not only does this violate privacy, but it can also lead to severe legal consequences.
Alternatives to Consider:
- Ask the network owner for permission to join.
- Use open or public WiFi networks instead.
Using WPS to Connect Without a Password
WiFi Protected Setup (WPS) is a convenient method for connecting to WiFi networks without entering a password. This technique is especially useful in home or small office environments.
Your device should connect to the WiFi network without requiring a password. This method is secure for home use since it requires physical access to the router.

Connecting via Device Provisioning Protocol (DDP)
For Android 10+ devices, the Device Provisioning Protocol (DDP) provides a seamless way to connect to WiFi networks using QR codes, eliminating the need for a traditional password.
Setting Up Your Device for DDP:
- Create a QR Code:
- Go to Settings > Network & Internet.
- Select your connected network and tap Share to generate a QR code.
- Scan the QR Code:
- Android Devices:
- Open Settings > Network & Internet > WiFi.
- Tap on the QR code icon next to Add Network and scan the code.
- iOS Devices:
- Open the Camera app.
- Point it at the QR code and tap on the notification to join the network.
- Android Devices:
This method is particularly useful in environments where you need to connect multiple devices without sharing a password.
Using QR Codes for WiFi Access
QR codes offer a straightforward method to connect to WiFi without a password, making it easier to share network access with guests or other devices.
Steps to Use QR Codes:
- Generate a QR Code:
- Use online QR code generators or built-in phone features.
- Enter your WiFi network credentials and generate the QR code.
- Scan the QR Code:
- Use your phone’s camera or a QR code scanning app to scan the code.
- Your device should automatically connect to the WiFi network.
Many modern smartphones come with built-in QR code scanners, simplifying this process.
Setting Up a Guest Network
Creating a guest network is an excellent way to provide internet access without compromising your main network’s security. Guest networks are isolated from your primary network, preventing unauthorized access to your personal devices.
Steps to Set Up a Guest Network:
- Access Router Settings:
- Open a web browser and enter your router’s IP address.
- Log in with your admin credentials.
- Enable Guest Network:
- Navigate to the Wireless Settings section.
- Enable the Guest Network option and configure the SSID (network name).
- Save and Connect:
- Save the settings and instruct guests to connect to the guest network.
Setting up a guest network ensures that your main WiFi remains secure while providing internet access to visitors.
Viewing and Sharing Your WiFi Password
If you need to retrieve your WiFi password for sharing or reconnecting a device, both Windows PCs and smartphones offer ways to view and share it.
Viewing WiFi Password on Windows:
- Access Network and Sharing Center:
- Open Control Panel and go to Network and Internet > Network and Sharing Center.
- View WiFi Properties:
- Click on your WiFi network and select Wireless Properties.
- Under the Security tab, check the Show characters box to reveal the password.
Viewing WiFi Password on Android:
- Access Network Settings:
- Open Settings > Network & Internet.
- Tap on your connected network and select Share.
- View the Password:
- The password will be displayed above or below the QR code.
Viewing WiFi Password on iOS:
- Access WiFi Settings:
- Open Settings > WiFi.
- Tap the info icon next to your connected network.
- View the Password:
- The password will be displayed in the network details.
These methods are useful for quickly retrieving and sharing your WiFi password without the hassle of remembering it.
Security Tips for Your WiFi Network
Ensuring the security of your WiFi network is crucial to protect against unauthorized access and potential data breaches. Here are some essential security measures:
Key Security Measures:
- Change Your SSID: Avoid using personal information in your network name. Choose an SSID that does not reveal any details about you or your network.
- Use Strong Passwords: Create complex passwords with a mix of characters, numbers, and symbols. A strong password significantly reduces the risk of unauthorized access.
- Conceal Your Network Name: Disable SSID broadcasting to hide your network from public view. This prevents casual users from attempting to connect.
- Update Router Firmware: Regularly update your router’s firmware to protect against known vulnerabilities. Manufacturers often release updates to enhance security and performance.
- Use a VPN: Protect your internet traffic by using a Virtual Private Network (VPN), such as PureVPN. A VPN encrypts your data and hides your online activities from potential hackers.
Using these security measures ensures that your WiFi network remains protected, providing peace of mind while using the internet.
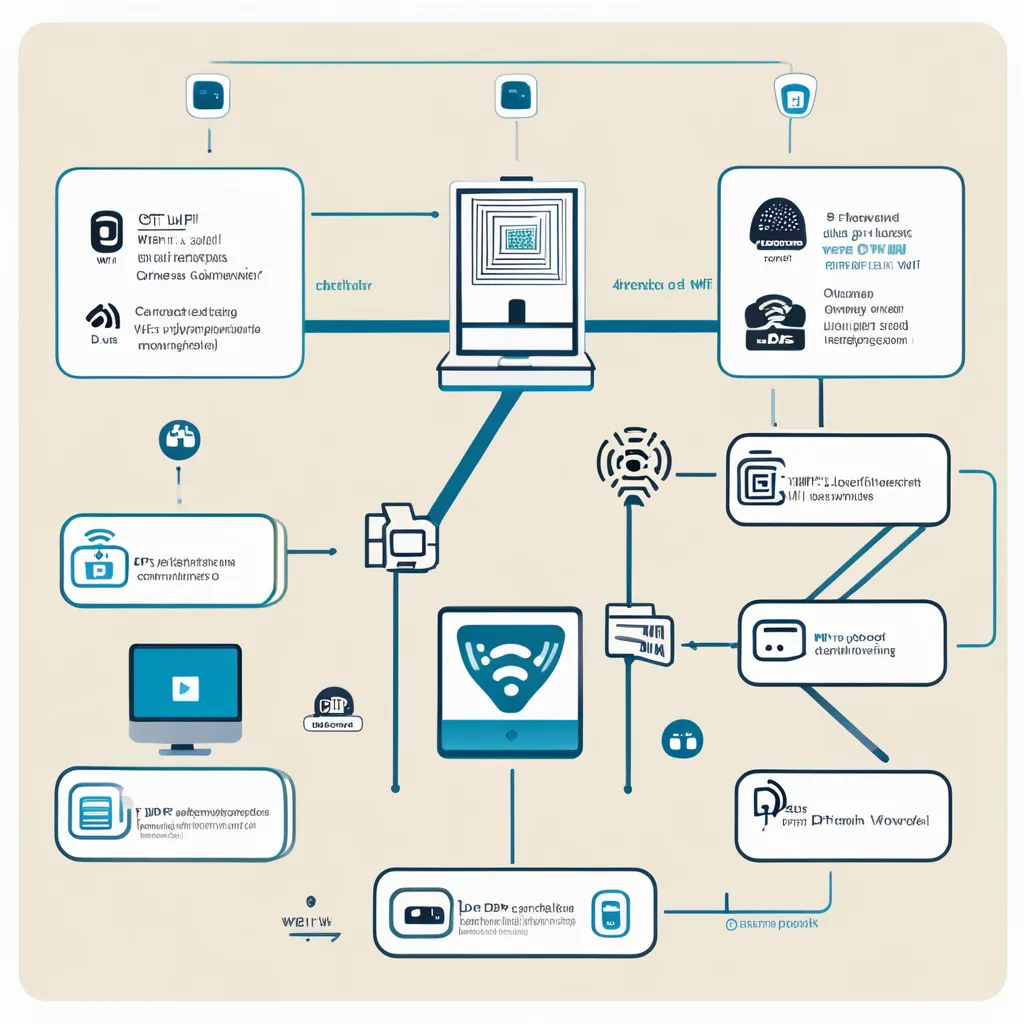
Recommended Diagram: WiFi Connection Methods
Here is a diagram illustrating the different methods to connect to WiFi without a password:
graph TD;    A[Connecting to WiFi Without a Password] --> B[WPS]
    A --> C[DDP]
    A --> D[QR Codes]
    A --> E[Guest Network]
    B --> F[Press WPS Button on Router]
    B --> G[Configure Device]
    C --> H[Generate QR Code]
    C --> I[Scan QR Code]
    D --> J[Generate QR Code]
    D --> K[Scan QR Code]
    E --> L[Access Router Settings]
    E --> M[Enable Guest Network]
By following these methods, you can easily connect to WiFi networks without the need for a password. For enhanced security and privacy, consider using a VPN like PureVPN.
Conclusion
Understanding how to connect to WiFi without a password is a valuable skill in today’s interconnected world. Whether you’re using WPS, DDP, QR codes, or setting up a guest network, each method offers a convenient way to access the internet without compromising security. Remember to implement strong security measures to protect your network from unauthorized access. For additional security and privacy online, we highly recommend using a reliable VPN service like PureVPN.
By following the steps outlined in this guide, you can ensure that you are able to connect to WiFi networks without hassle and keep your network secure. This approach not only simplifies connectivity but also maintains the integrity and safety of your internet access.